
Using environment files in Django
Secure your Django project using environment files and variables.
Security is one of the things you should keep in mind when you start a new project. Especially if you share it as an open-source with people on platforms such as Github or Gitlab. Different projects may have different security actions, but in this article, I would like to discuss the first step you need to do just before starting a Django project: using environment files.
Each project's needs are different. Therefore, it is important to create a separate virtual environment for each project. Thus, you can separate the versions, libraries, and customizations you use for that project from your main system. This will make it easier for you to deploy your project later with tools such as Docker, and prevent conflicts between versions or technologies. If you are just a beginner and even you are still learning and will not publish your project anywhere, I suggest you gain this practice early. Thus, you can easily apply it to larger projects in the future.
So we can start by setting up our virtual environment. I use the virtualenv library for this. If you do not have a virtualenv library on your system, you can install it with the command below.
pip3 install virtualenv
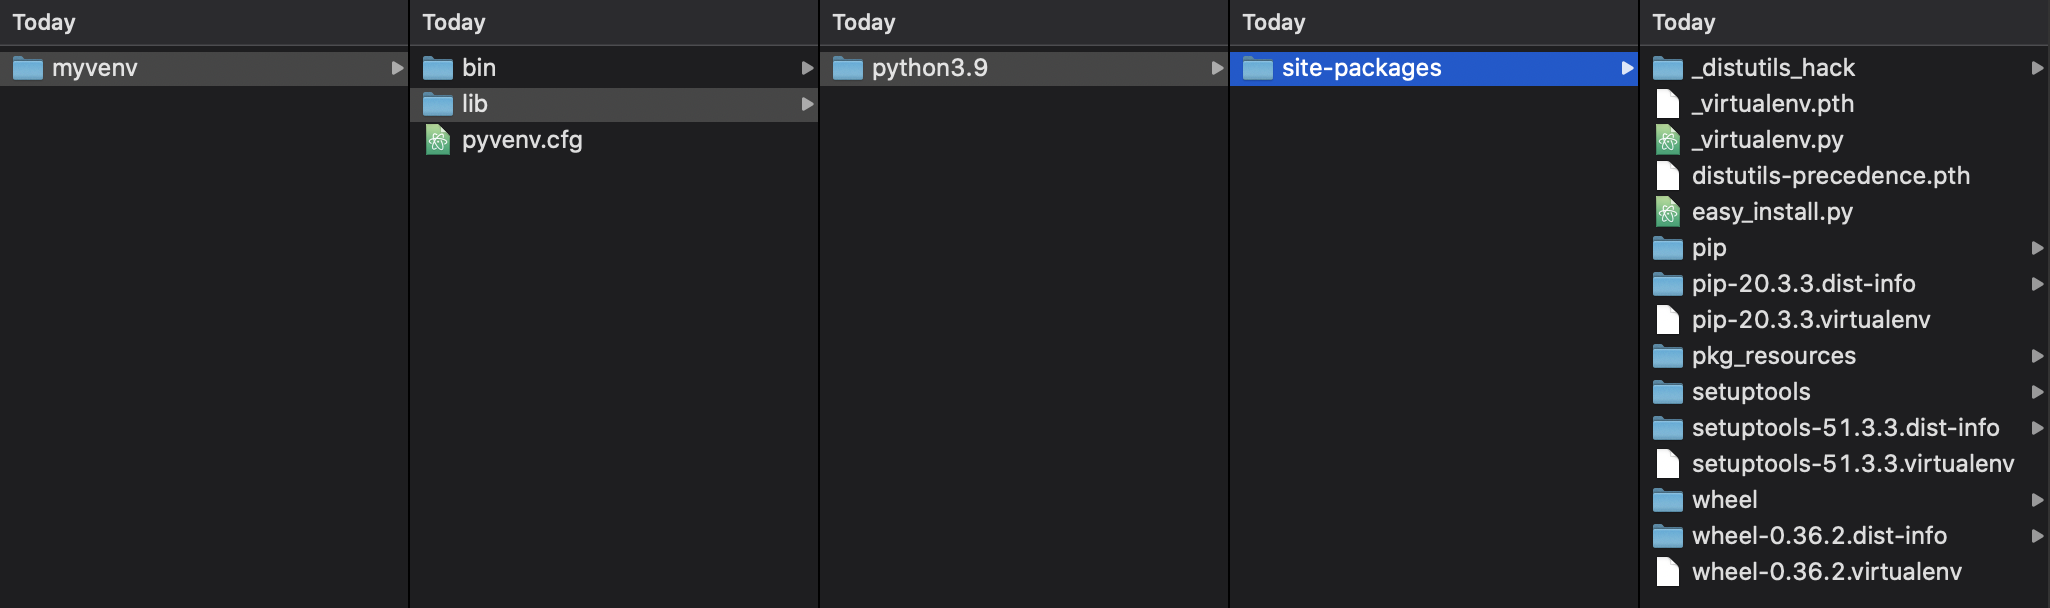
Create a folder for your project and set up your virtual Python environment by running the following command inside that folder with the terminal. I called my virtual environment myvenv, but you can name whatever you want.
virtualenv myvenv
After that, check your project folder, you can see that your virtual environment is ready.
Now we have to activate our virtual environment. Remember, your virtual environment is passive unless you run it on your system. That's why you need to activate it every time you work on your project and then deactivate it again after your work is done.
source myvenv/bin/activate
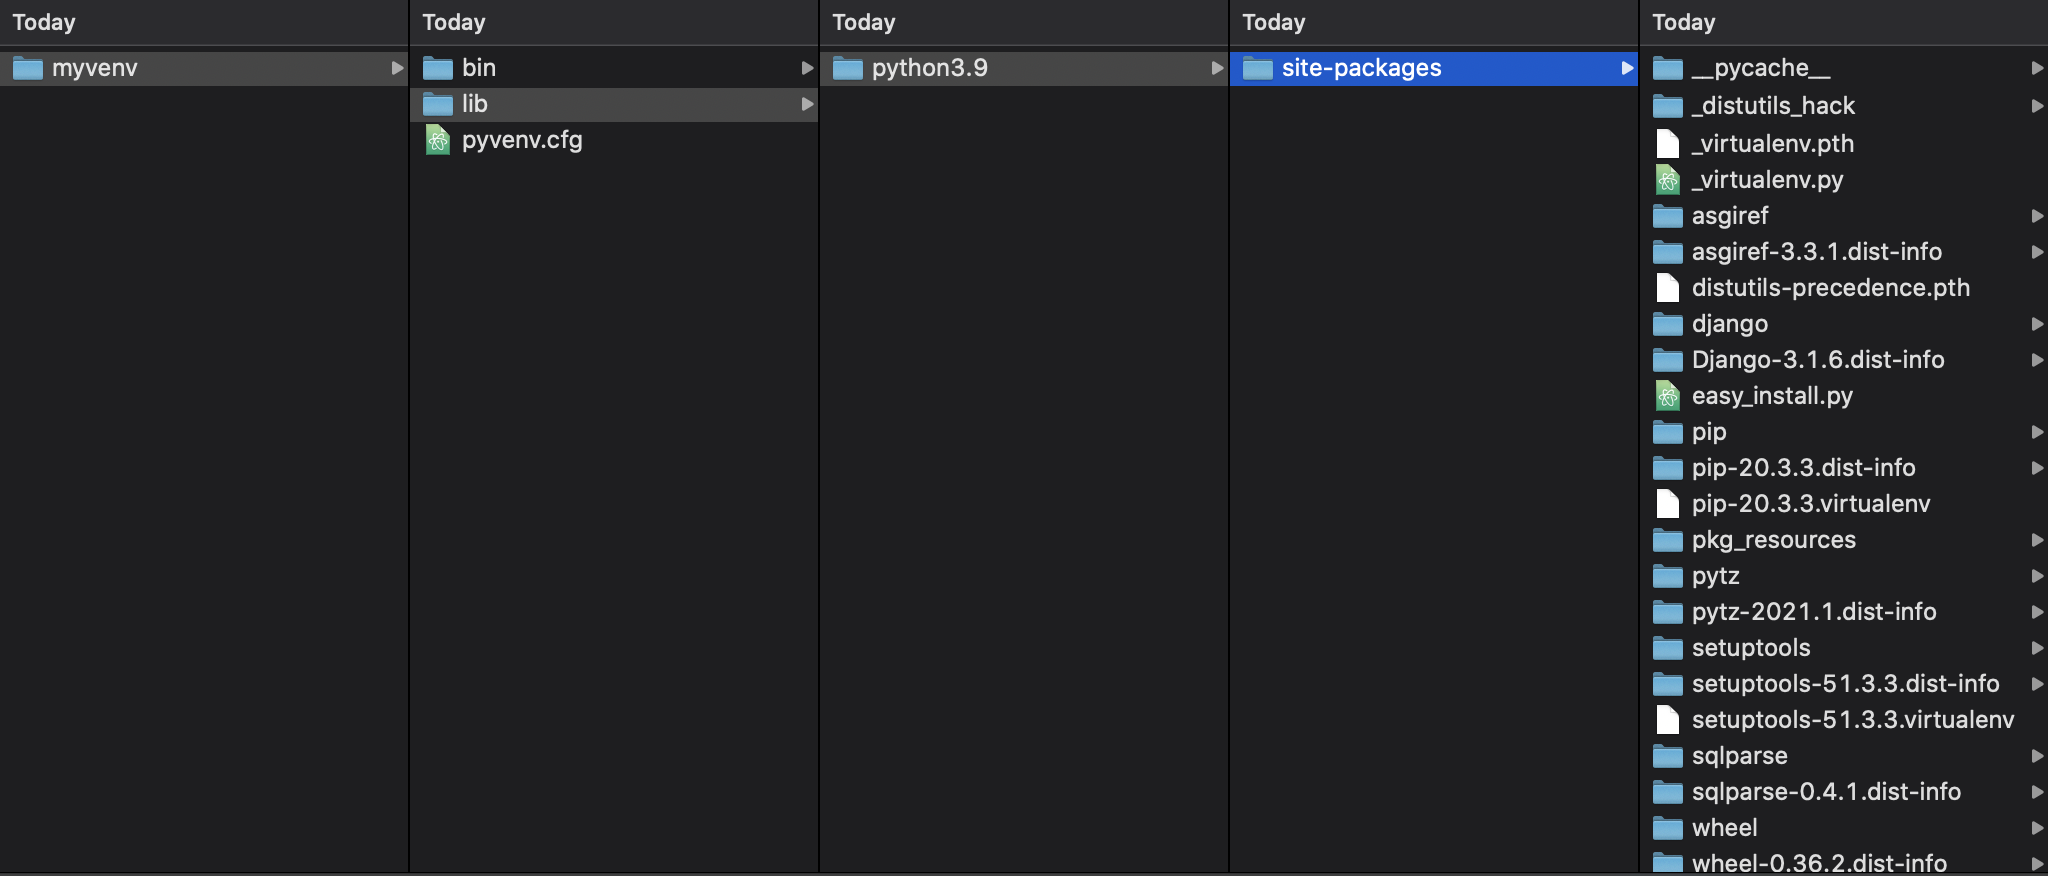
Now we have an active Python virtual environment specific to our project, and we can install what we need. Since this is a Django project, we need to install it first.
pip install Django
If we check the virtual environment folder in our project again, we can see that Django has been added to the site-packages folder. It means that our virtual environment is working and Django is loading without any problems.
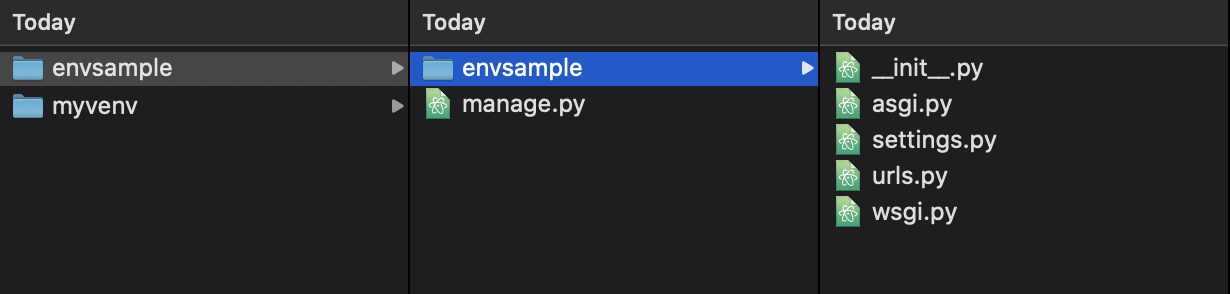
Next is creating a Django project. I named the project envsample you can change it as you wish.
django-admin startproject envsample
If we check our project folder, we can see that Django has created our project.
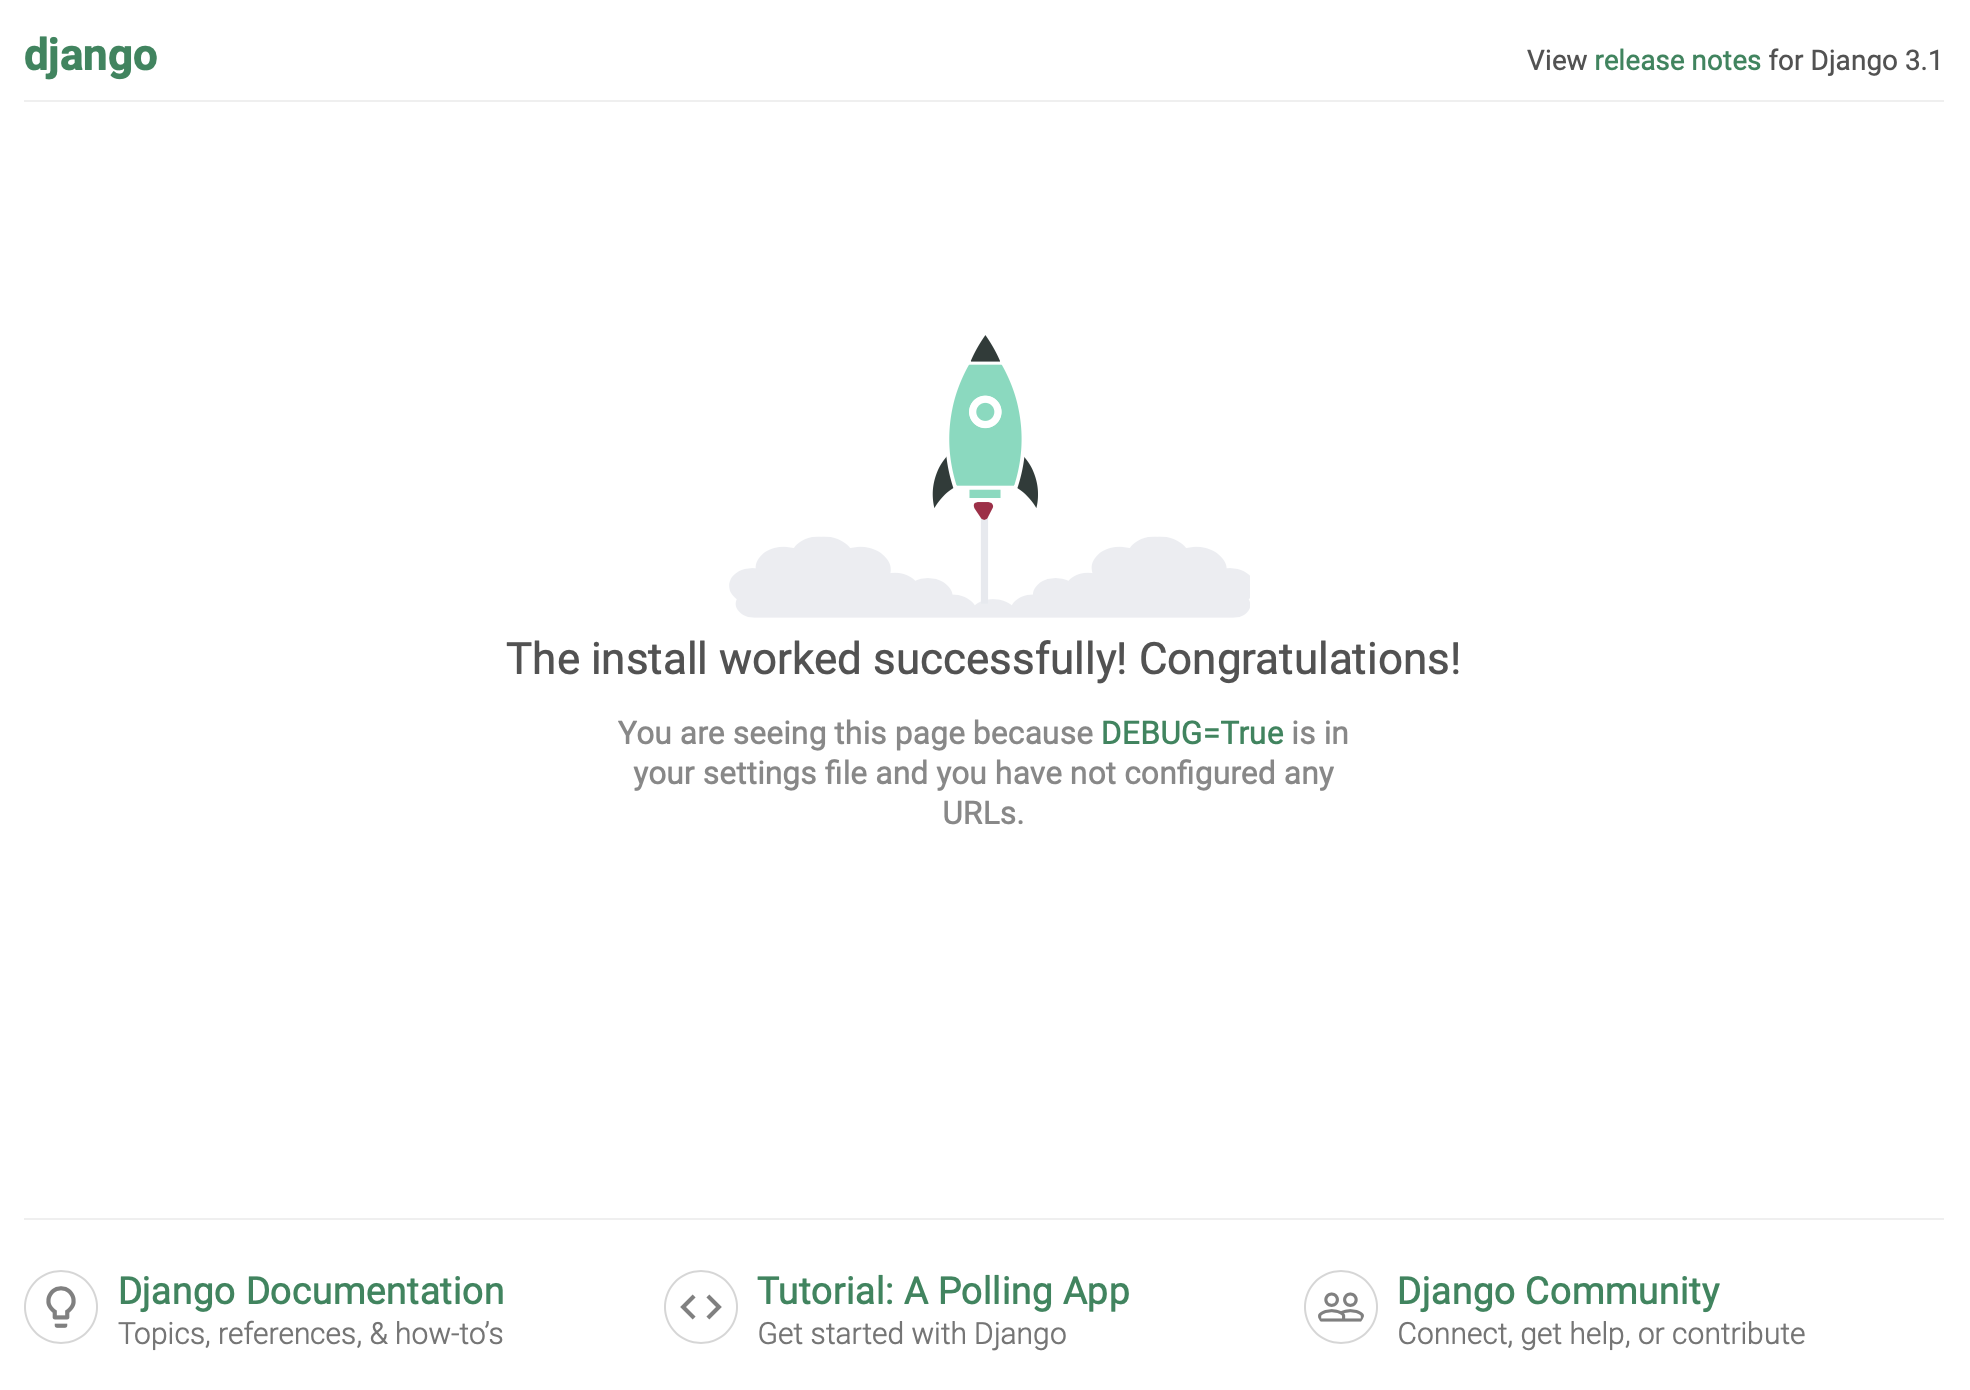
Let's run the Django server to test that the project started smoothly. First of all, you need to run the following command in the envsample folder on your terminal.
cd envsample
python manage.py runserver
After the command, go to http://127.0.0.1:8000/ in your browser. If you can see the same feedback and Django's opening message like below, it means everything is fine.
Watching for file changes with StatReloader
Performing system checks...

System check identified no issues (0 silenced).

You have 18 unapplied migration(s). Your project may not work properly until you apply the migrations for app(s): admin, auth, contenttypes, sessions.
Run 'python manage.py migrate' to apply them.
February 14, 2021 - 13:20:01
Django version 3.1.6, using settings 'envsample.settings'
Starting development server at http://127.0.0.1:8000/
Quit the server with CONTROL-C.
Now let's open the settings script of our project and take a look at a few relevant details. When you open the envsample/envsample/settings.py document, you will see the SECRET_KET section as below. Secret Key is a unique security key produced by Django for each project. You don't want to publish this key on Github or use it openly when deploying because it creates a serious security gap in your project.
# SECURITY WARNING: keep the secret key used in production secret!
SECRET_KEY = 'n9^y4)ui^w+aw_7-bm6add5re09_#7zn0m5gqy_(btd*w3^9#w'
Almost every project has a database. If you check the DATABASES section in the file, you can see that Django uses SQLite as its default database.
DATABASES = {
    'default': {
        'ENGINE': 'django.db.backends.sqlite3',
        'NAME': BASE_DIR / 'db.sqlite3',
    }
}
SQLite is an uncomplicated database and is ideal for small projects. However, if we want to keep our data in a more advanced database such as Postgres, we need to edit this section as follows.
DATABASES = {
    "default": {
        "ENGINE": "django.db.backends.postgresql_psycopg2",
        "NAME": "testdb",
        "USER": "testuser",
        "PASSWORD": "1234",
        "HOST": "localhost",
        "PORT": "5432",
    }
}
Let's say you had to set up an email backend in your project. In this case, your email information also will be added to your settings like below.
EMAIL_BACKEND = 'django.core.mail.backends.smtp.EmailBackend'
EMAIL_HOST = 'smtp.gmail.com'
EMAIL_PORT = 587
EMAIL_USE_TLS = True
EMAIL_HOST_USER = "examplemail@gmail.com"
EMAIL_HOST_PASSWORD = "123456"
Can you see what's the problem here? You can develop your project as open-source, you can deploy it in areas such as Heroku or DigitalOcean, but you do not want your private information to appear and be accessible in this way. Therefore, we need to serve this information from a location outside of the project. That's why we need environment files and variables.
Now we can move on to how to use them. I use the dotenv library to create environment files. Return to your terminal and stop the Django server with CONTROL-C or COMMAND-C. Install the dotenv library by running the command below.
pip install python-dotenv
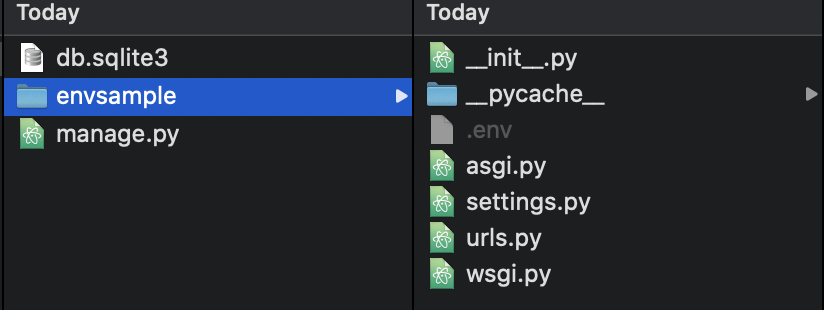
Go to your project folder and create a document named .env in the same location as settings.py.
Within this document, we will describe information that is sensitive to our project. Based on the previous examples, there will be Django secret key, database admin information, and email user information for this project. In the .env document, we can define them as follows.
SECRET_KEY='n9^y4)ui^w+aw_7-bm6add5re09_#7zn0m5gqy_(btd*w3^9#w'
DB_NAME='testdb'
DB_USER='testuser'
DB_PASSWORD='1234'
EMAIL_USER = "examplemail@gmail.com"
EMAIL_PASSWORD = "123456"
As you can see, what we actually do is define critical information as variables. Now we need to rearrange the Django settings. We first need to call the libraries that we use at the beginning of the settings.py document and load the .env files.
import os
from dotenv import load_dotenv

load_dotenv()
Then we define the information that will come through the .env document in relevant places. The basic principle here is to import variables from the .env document with os.getenv("YOUR_ENV_VARIABLE").
SECRET_KEY = os.getenv("SECRET_KEY")


DATABASES = {
    "default": {
        "ENGINE": "django.db.backends.postgresql_psycopg2",
        "NAME": os.getenv("DB_NAME"),
        "USER": os.getenv("DB_USER"),
        "PASSWORD": os.getenv("DB_PASSWORD"),
        "HOST": "localhost",
        "PORT": "5432",
    }
}


EMAIL_BACKEND = 'django.core.mail.backends.smtp.EmailBackend'
EMAIL_HOST = 'smtp.gmail.com'
EMAIL_PORT = 587
EMAIL_USE_TLS = True
EMAIL_HOST_USER = os.getenv("EMAIL_USER")
EMAIL_HOST_PASSWORD = os.getenv("EMAIL_PASSWORD")
Your project is now more secure. Note that when uploading your project as open source to Github, you should not upload .env files. Instead, you can create a separate .env_example document like the one below and share a format for the people who will use your project.
SECRET_KEY='your_django_secret_key'
DB_NAME='your_database_name'
DB_USER='your_database_admin_user'
DB_PASSWORD='your_database_admin_password'
EMAIL_USER = "your_email_user"
EMAIL_PASSWORD = "your_email_password"
If you want to see the source codes of the project described in this article, you can check it here.
Bu yazının Türkçe versiyonunu buradan okuyabilirsiniz.